Applications are built round by round, with a reusable form at the heart of each. This guide walks an admin through creating one end to end.
1. Create the application #
Go to Admin Panel → Applications and select Create new application (or Edit an existing one). Every application in the list carries quick actions: Invite link, Responses, Edit and More.
2. Customize the landing page #
This is the first page applicants see — set its title, description and branding so it reflects your program.
3. Set up each round #
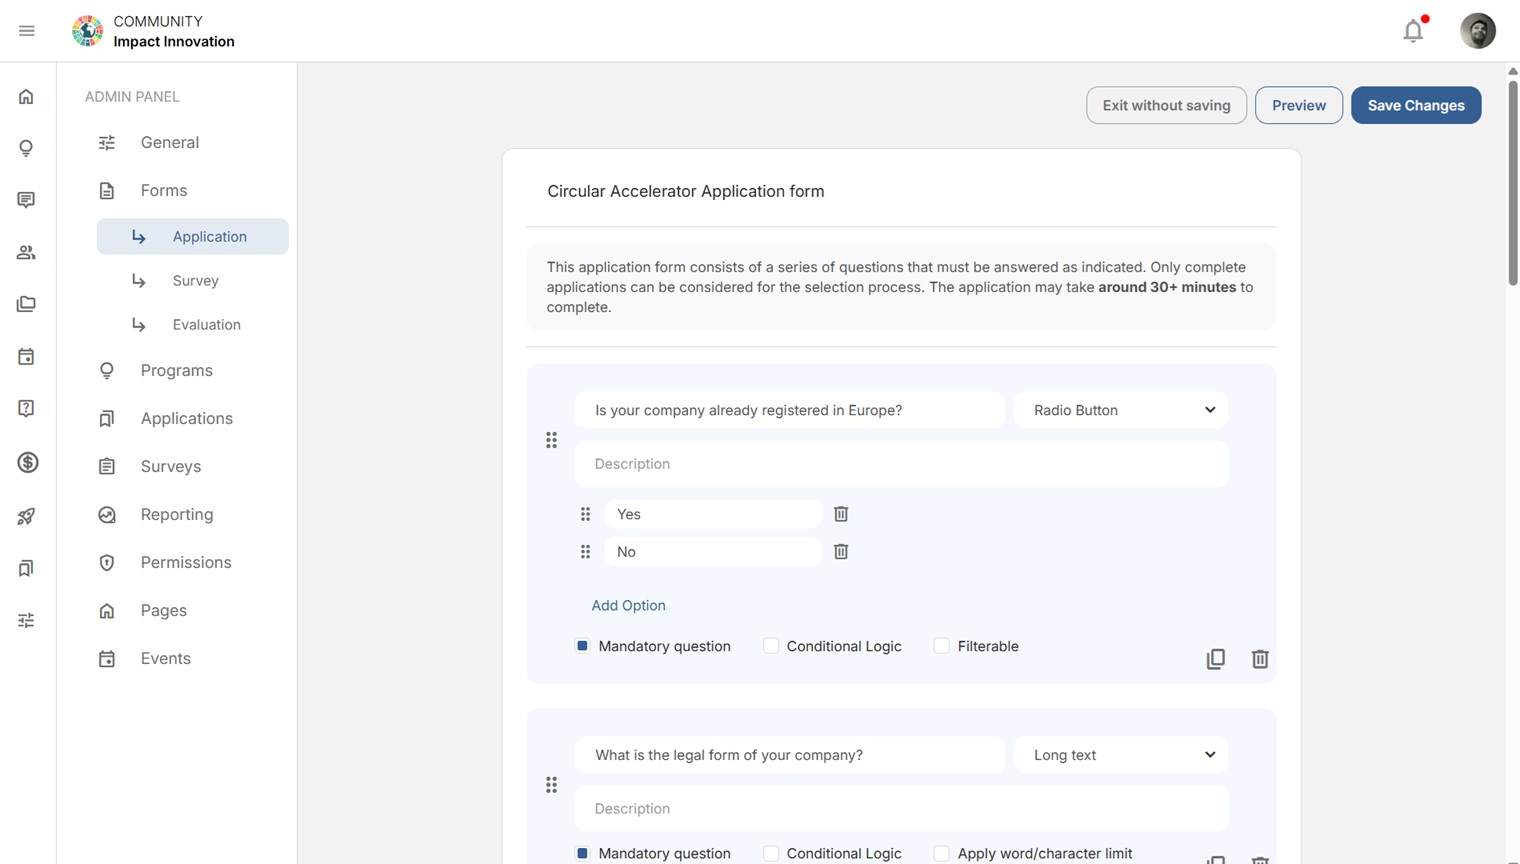
An application can have several rounds (for example: an initial form, then due diligence, then interviews). For each round, set the start and end date & time and timezone, choose a round type (such as “Form only”, or one that includes evaluation), then choose a form — or build one with Edit form / Create new form.
4. Configure the application settings #
In the Application Settings panel, set:
- Type of application (e.g. a company/venture application)
- Accepted users’ role — the role successful applicants receive (e.g. Founders)
- Accepted Ventures’ program — which program they join on acceptance
- Application language
- Evaluator assignment mode, and whether evaluators can view other rounds’ evaluations
5. Set the outcome emails & share #
Write your Accepted and Rejected application emails, then share the application’s Invite link wherever your applicants are.
Related: Yellow vs. blue questions · Building an evaluation and scoring criteria.


